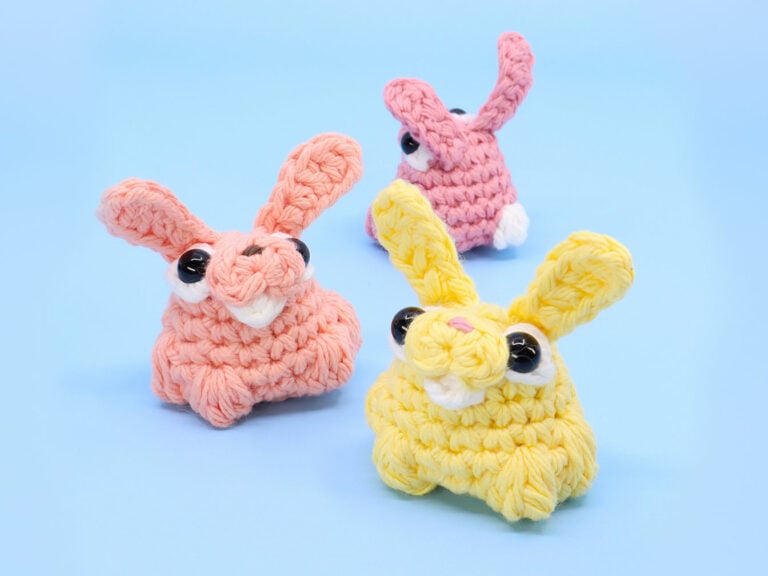
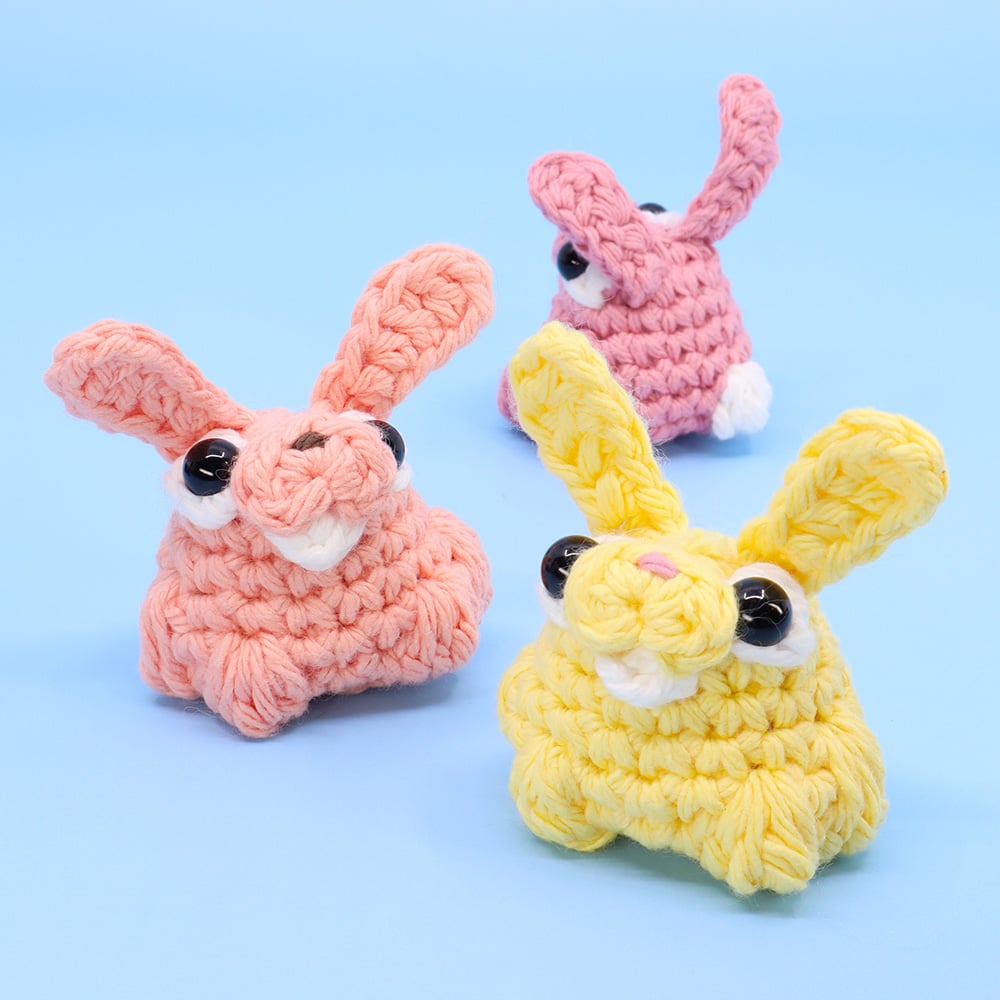
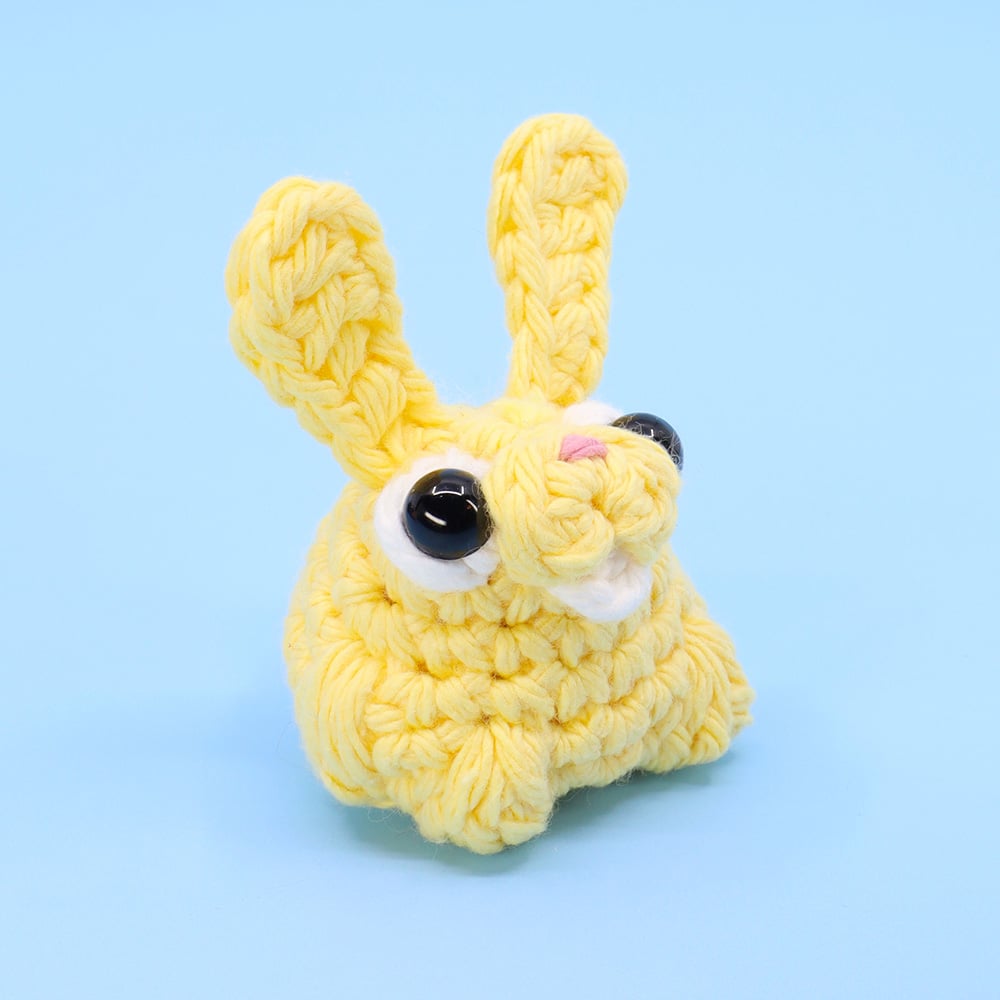
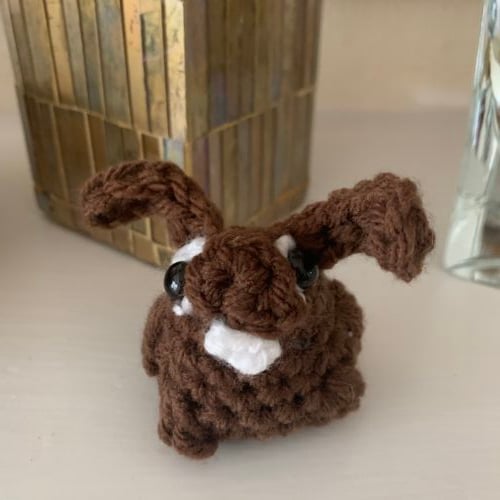
Bunny – The Bawnimals

Medium

Louie's Loops
Designed by


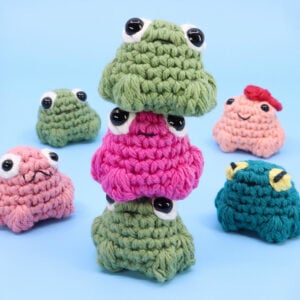
What you'll create


Video tutorials
Main Video
Pattern Video
Lefty
What you'll learn
What you'll need

Cotton Yarn
Weight

Colors

Crochet Hook
G6 / 4.00 mm

Safety Bead (x2)
6 mm

Stuffing

Darning Needle
Abbreviations used
ch
Chain Stitch
st
Stitch
slst
Slip Stitch
sc
Single Crochet
inc
Increase
dec
Decrease (Sharp)
invdec
Invisible Decrease
FLO/BLO
Front / Back Loops Only
dc
Double Crochet
hdc
Half-Double Crochet
mbo
Mini Bobble Stitch
sc2tog
Single Crochet 2 Together
bo
Bobble Stitch (4-dc bobble)
mp
Mini Picot
Useful information
Gauge
5 Rnds and 4 sts per 1”
Size
Finished piece is about 1 – 2” tall
Worked
In the Round (unless otherwise stated)
Useful Tutorials
Pattern steps

01
Bunny Ears
2:54:29
Qty 2
[All in Main Color]
Slip knot, ch 8
Row 1: skip 2 chs, working in the BLO of the chs, dc 2, hdc 2, sc2tog (5)
Ch 1, cut the yarn, pull through. Sew onto the head using the two tail ends.
02
Buck Tooth
2:58:50
[All in White]
Slip knot, ch 3
Rnd 1: skip 2 chs, hdc in BLO of the first ch. Ch 1, cut the yarn and pull through.
Sew one of these onto the face just under the Jowls (easier to sew on before the Jowls).
03
Jowls
3:00:00
[All in Main Color]
Magic loop
Rnd 1: ch 1, hdc 1, sc 3, hdc 1, slst 1
Cut the yarn, pull through and insert the tail in back through the center. Pull the magic loop tight.
(2:00:00) Sew on just between the eyes. Use a second strand of complementary colored yarn to embroider a nose and help secure to the body.
04
Body
3:03:43
[Starting in Main Color]
Magic loop
Rnd 1: sc 6 in the magic loop (6)
In the following round we’ll be making mbo (Mini Bobble) stitches for the eyes. Try crocheting them in White to get a googly eyed look. See the video at (11:36) for a detailed example.
mbo = Mini Bobble (dc3tog)
{ } = Worked in the same stitch
[W] = Stitch in white
Mini Bobble
(11:36)
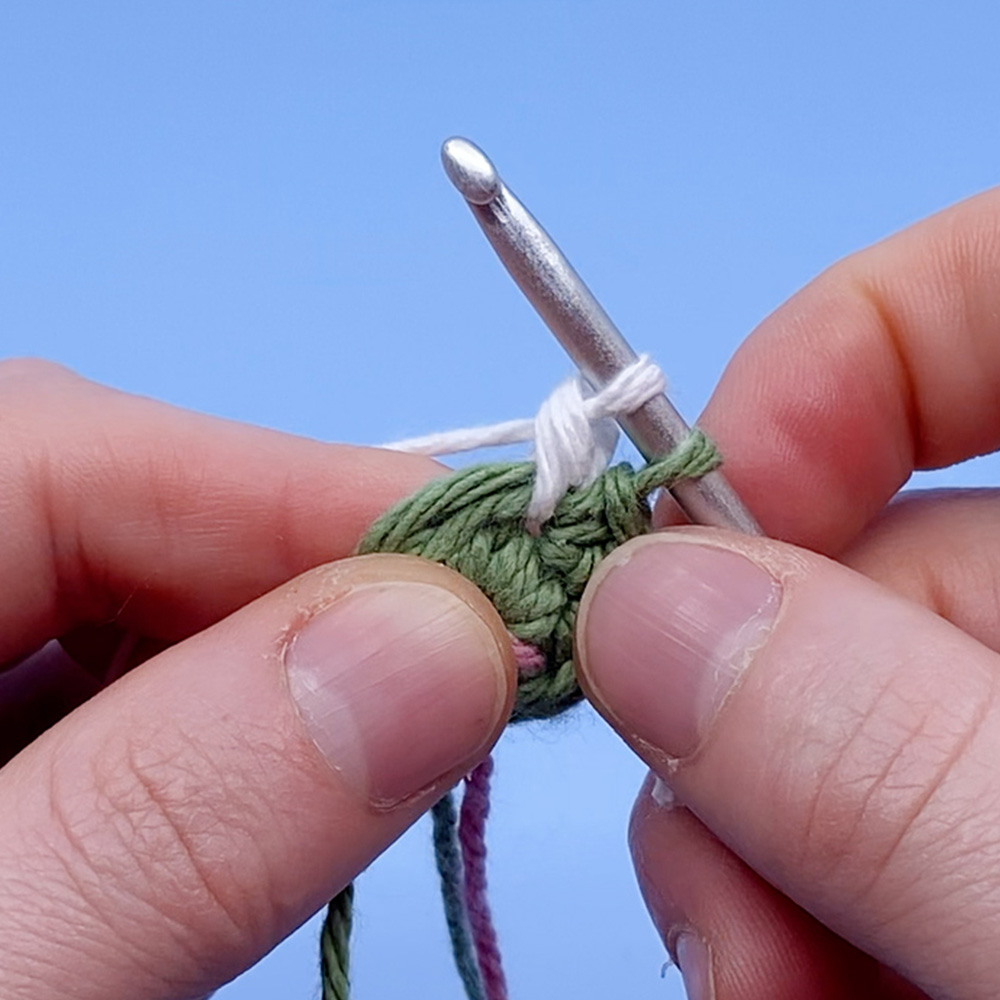
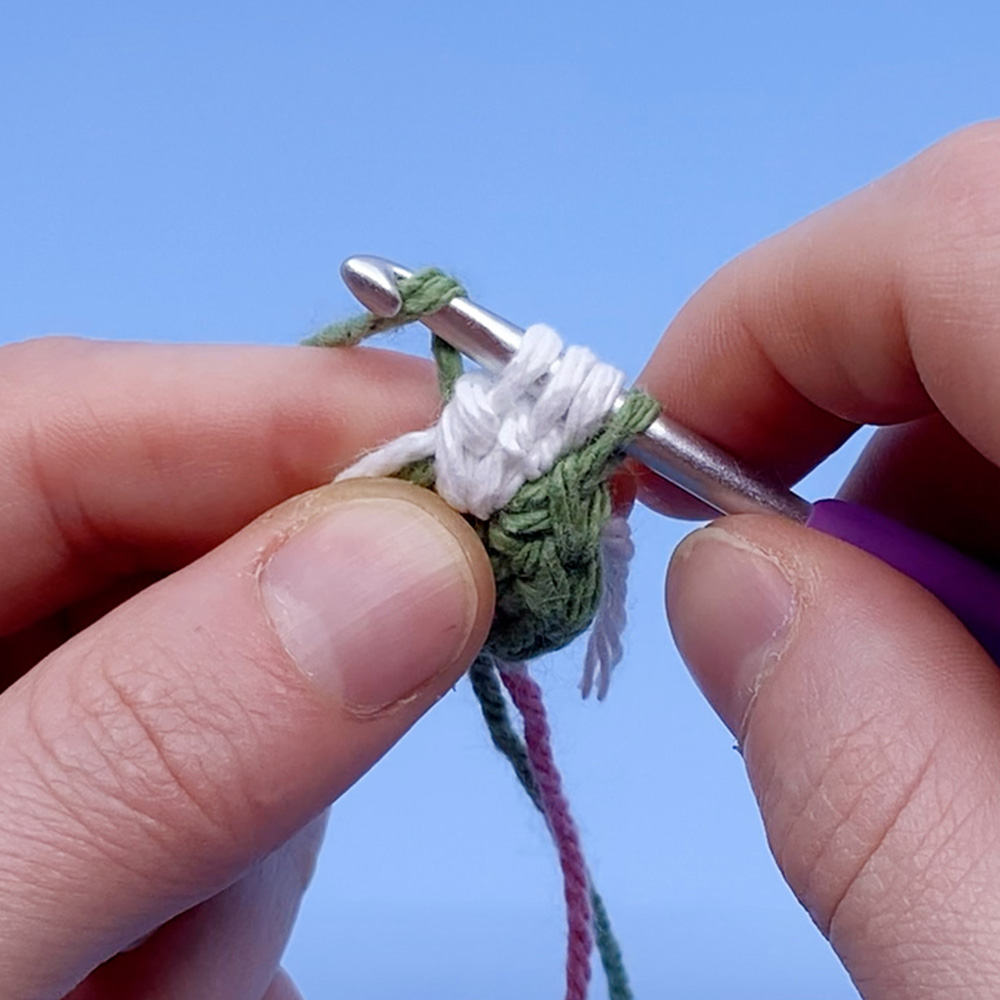
Try not changing to white for the eyes to make a more minimalistic look to your frog. You can also use a line of thread for the eye instead of a safety eye!
Rnd 2: inc 1, {sc 1, mbo 1 [W]}, inc 2, {mbo 1 [W], sc 1}, inc 1 (12)
Rnd 3: sc 3, inc 1, sc 5, inc 1, sc 2 (14)
Rnd 4: sc 4, inc 1, sc 6, inc 1, sc 2 (16)
Rnd 5: sc 5, inc 1, sc 6, inc 1, sc 3 (18)
Rnd 6: sc in each st (18)
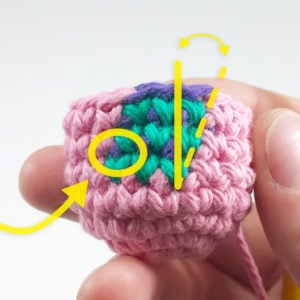
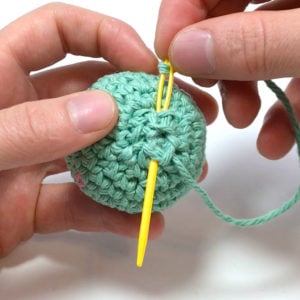
(3:14:15) Add eyes into the mbo stitches from Rnd 2. First, insert a hook between the stitches on either the left or right of the center. Twist the hook to separate the stitches and leave a hole where you can insert the back of a 6mm or 8mm safety eye. Lock onto the back on the inside. There are a few ways to do this to make your Bawnimals looking different directions.
Sew on the buck teeth between the eyes before adding the jowls over them. You’ll be using the same 2 stitches on the body to secure both the teeth and jowls.
Sew on the jowls between the eyes. You can use the two tail ends through the 2 stitches just between the eyes, and embroider a nose to the end using a different shade of yarn, double knotted in the back to secure the nose better.
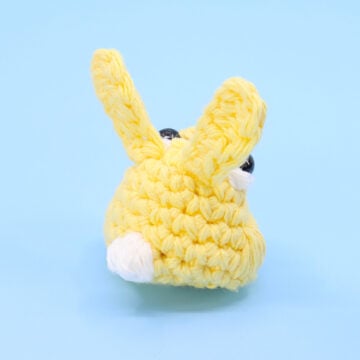
Sew on the ears on the outside of both the eyes. I like to make sure the ears are slightly higher using the locations in images C and D below.
Tail bobble stitch Underlined so you don’t miss it!
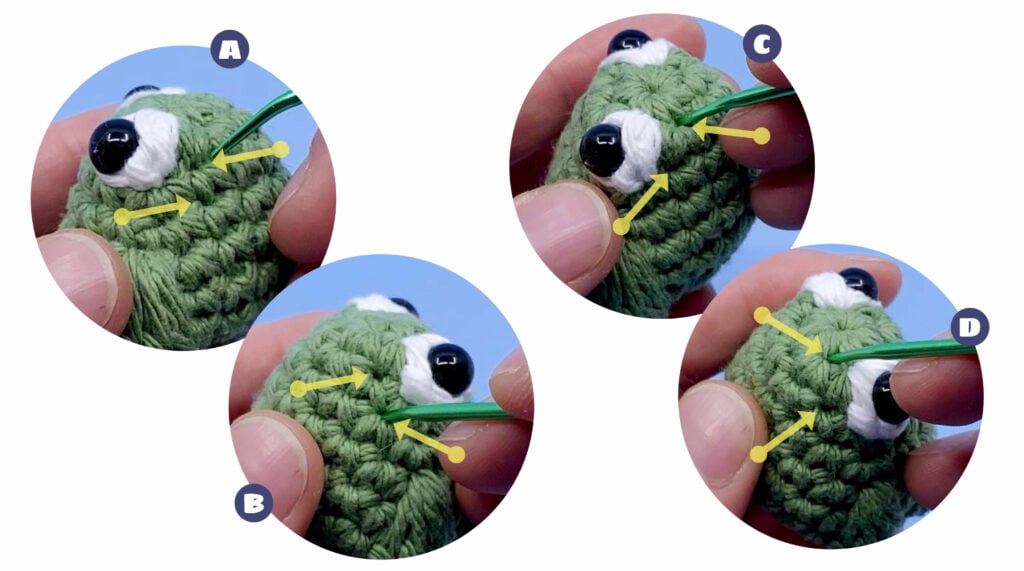
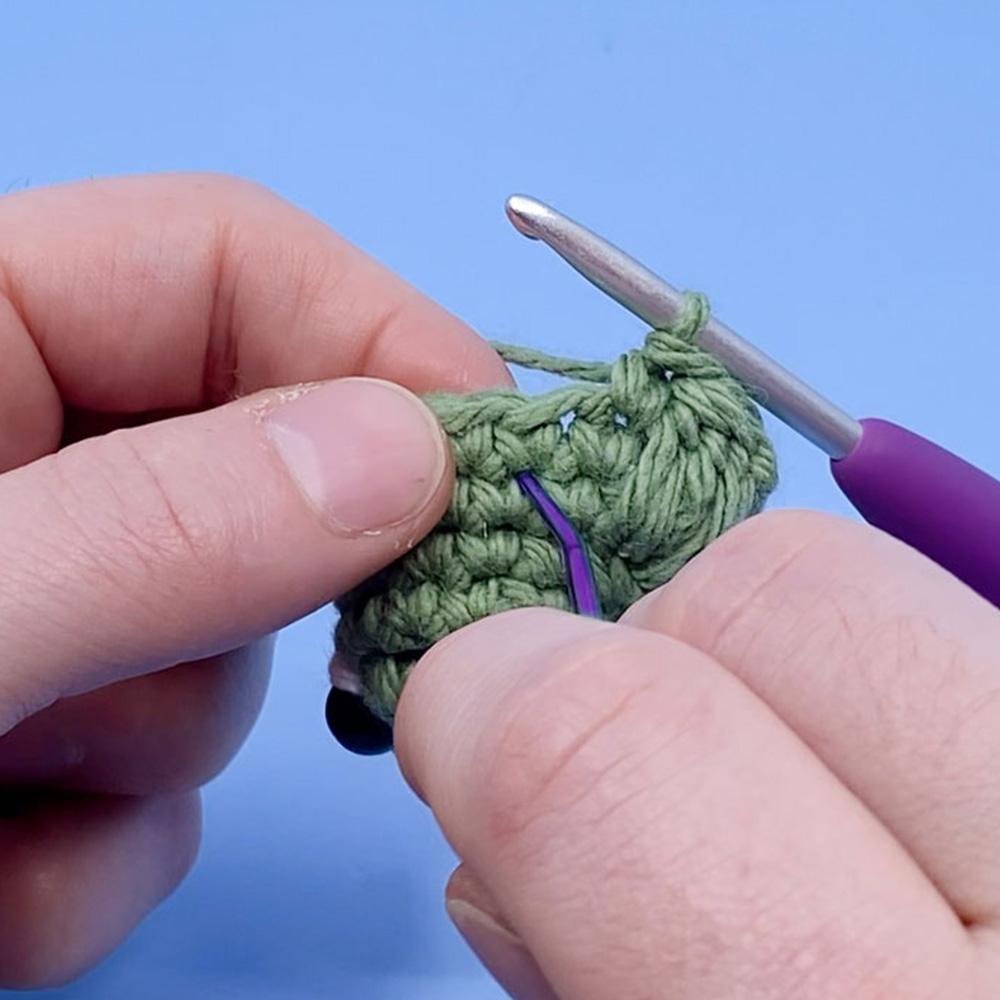
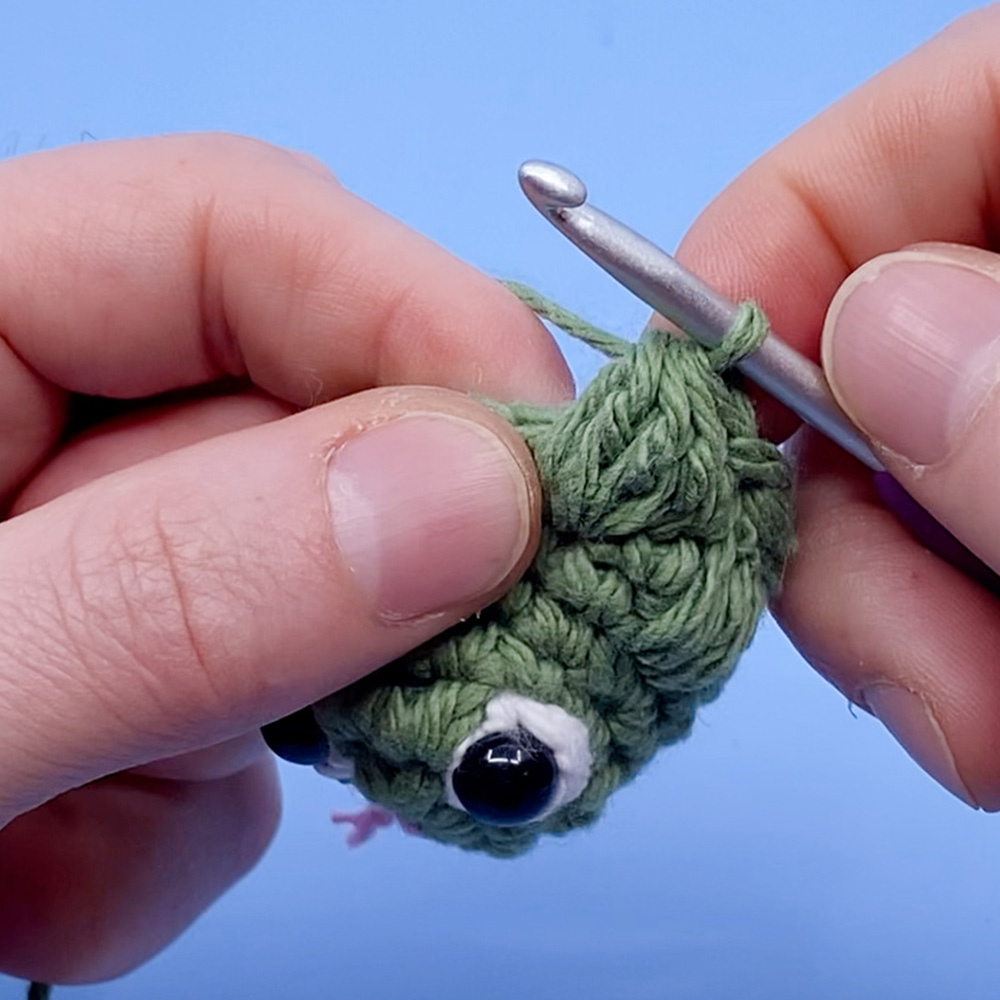
Rnd 7: sc 1, mbo 1 [W], sc 4, working into the inc from Rnd 4 (two Rnds up) bo 1, (Pic A)
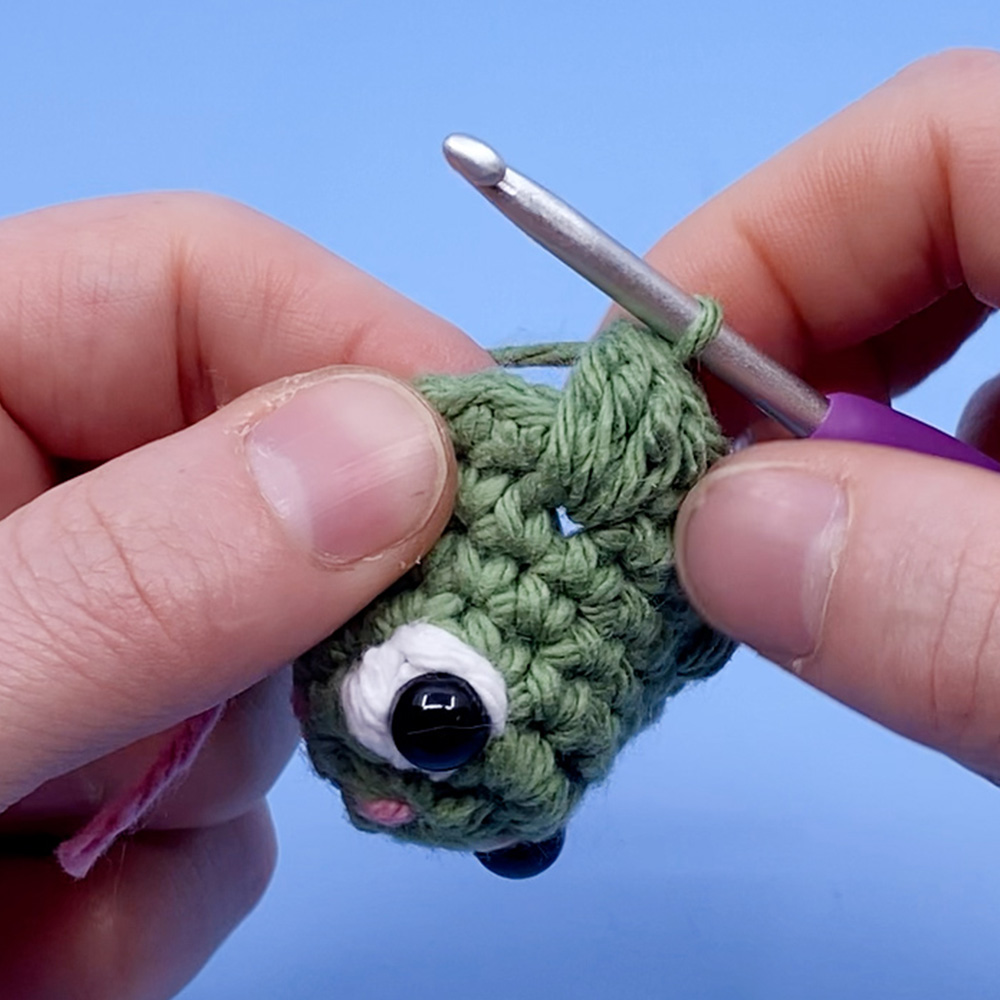
sc 1, working into the st from Rnd 5 (one Rnd up) bo 1, (Pic B)
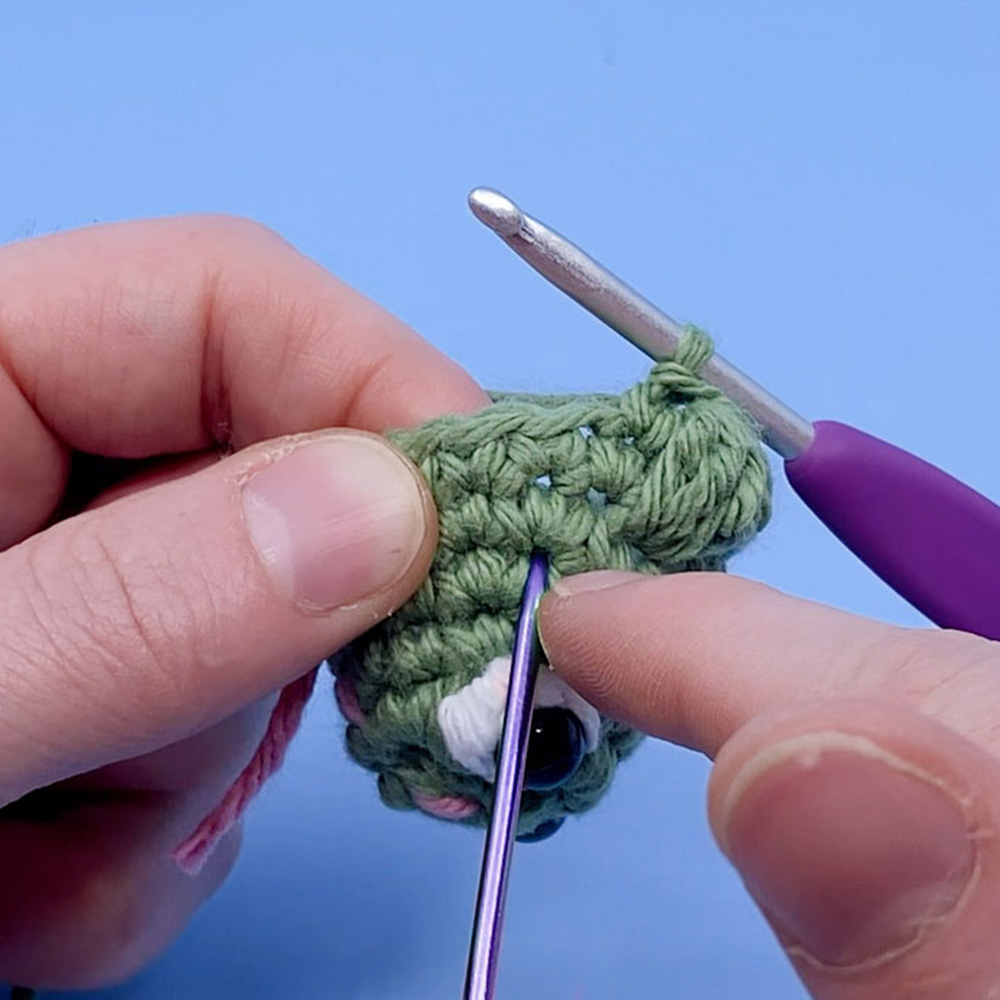
sc 3, working into the st from Rnd 5 (one Rnd up) bo 1, (Pic C)
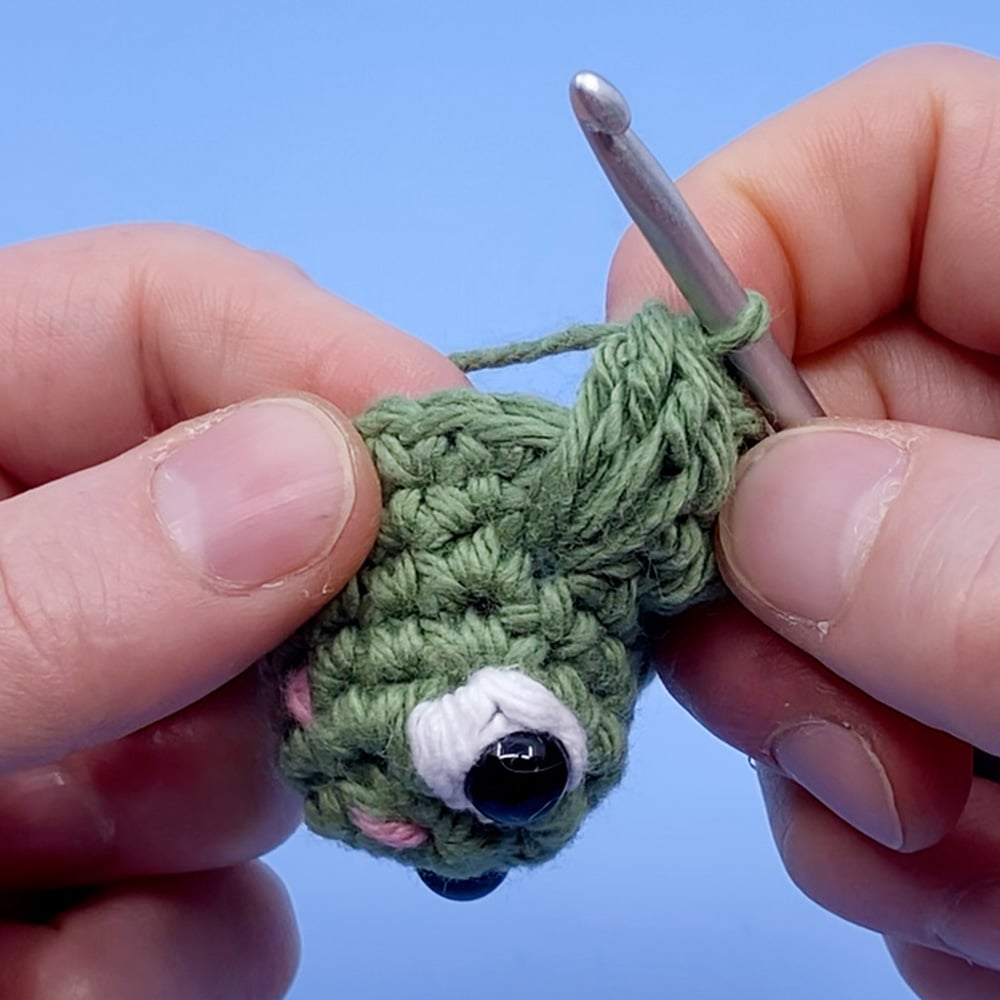
sc 1, working into the inc from Rnd 4 (two Rnds up) bo 1, (Pic D)
sc 3 (18)

A1

A2
B1
B2

C1
C2
D1
D2
Rnd 8: [sc 1, invdec 1] 6 times (12)
Stuff mostly. Add 2 mini magnets into the top of the head to make your Bunny stackable. Make sure it’s flipped the correct way as it is difficult to flip it later!
Rnd 9: invdec in each st (6)
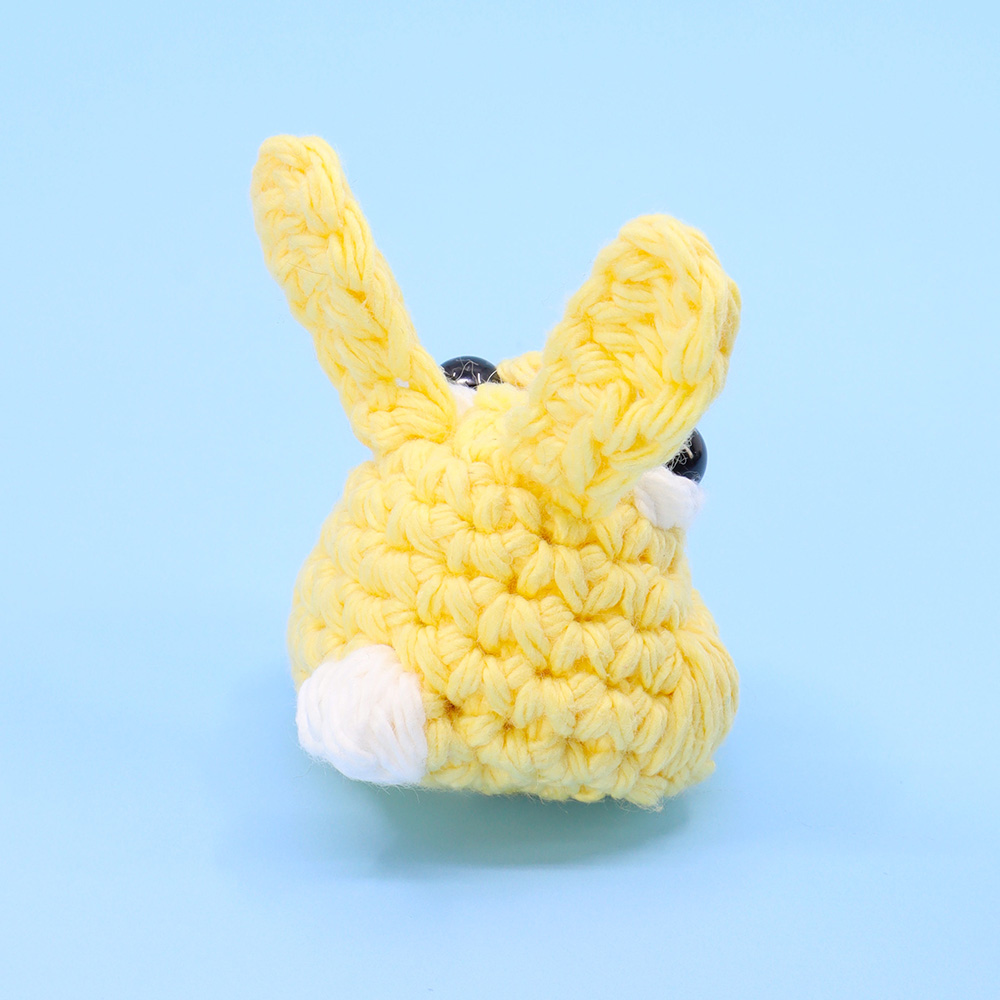
Stuff fully. Add 2 more mini magnets to the bottom (make sure it’s flipped correctly!) and sew closed.
Other patterns to try


Community posts
Community Showcase
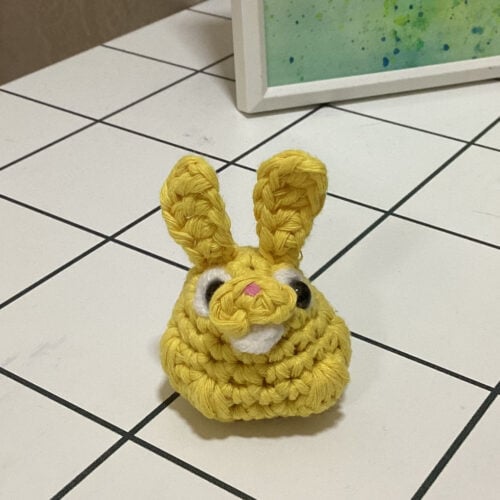
Just a bunny
Submitted by albert-the-pug
Bunny bawnimal
Submitted by thegoodstuff

Benny the bunny
Submitted by Céline VC
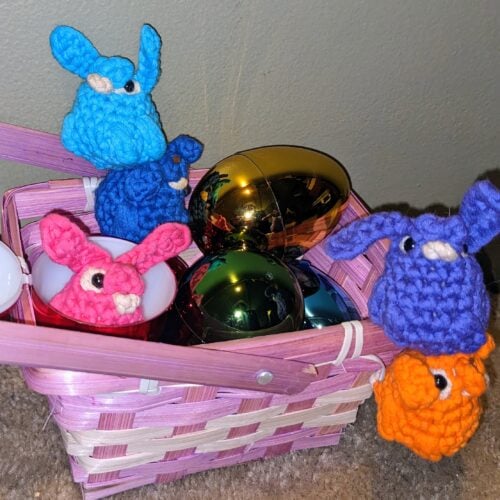
Magnetic Easter Egg Bawnnies
Submitted by Prizma
Bunny
Submitted by Soha


Thank you for putting tvOS pattern free
I love this pattern! Tysm Louie!
why can’t i get the free pattern?